Sometimes, baking inspiration just comes to you. For Hannah and I, it took a trip to the
Scandinavian Heritage Center in Southwest Portland (with a delicious brunch at my fav place,
Broder) and a random garage sale next door.
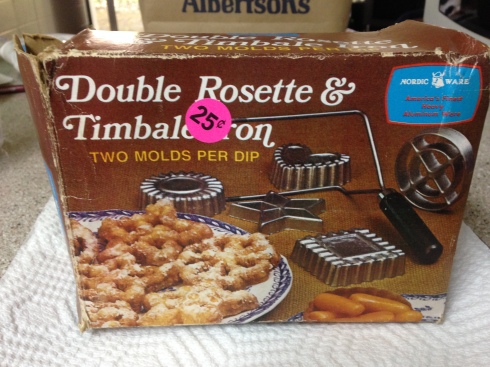
Our rosette adventure started when we stumbled upon this vintage Nordic Ware rosette iron set — for only 25 cents. And who wouldn’t pass up that kind of deal? Let us also point out that a new set with essentially the same equipment will cost you close to $50.
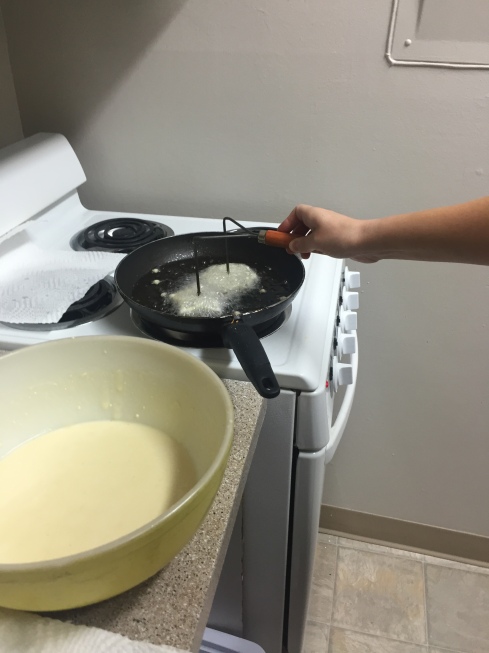
Equipment in hand, we mixed up some rosette batter and heated up some oil. We soon learned that the tutorials online make this look a lot easier than it is. Lesson 1: Heat the oil in a deeper pan next time, and make sure the irons are really hot before starting. (Side note: This vintage set is cool because you can, in theory, fry two cookies at once.)
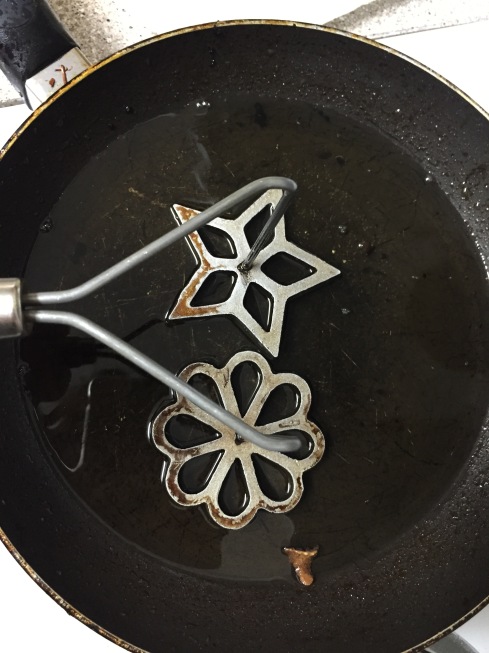
The recipes we found told us to dip the irons in the oil until hot, then dip in the batter and return to the pan until the bubbling stopped. Lesson 2: Do not get the batter too high on the iron, or it won’t come off easily (kind of duh, but you’d be surprised how many times I messed this up at first).
Sometimes the rosettes came out perfectly (see below), but most often they didn’t look like the pictures we saw online. Still, now that I’m the proud owner of a rosette set, I’ll have to try these again, probably closer to Christmas.

Once I try a couple recipes, I’ll get back to you on which worked best. The batter recipes don’t vary much, but the technique and cooking equipment does. Here are a few I looked at online, with some tips from each.
From Food.com: gives a specific temperature and depth for the oil
From Rachael Ray: liquid measure used to hold the batter
From Pinch My Salt: uses a Dutch oven to hold the oil
From Food Network: batter adds cardamom, a lovely spice
From King Arthur Flour: suggests chilling the batter before frying


