Archive | November, 2013

Blondies: Denver

29 Nov

This is, arguably, my favorite photo taken in the house that Nora and I shared in Eugene, OR, during our Senior year of college.

Image

Our buddy Chris came over on our last day in the house, as Nora was moving up to Portland to be an adult, and I was moving into the loneliest garage-turned-studio-apartment for my last few months in Oregon. The three of us spent a delirious 100 (ok, maybe 9) hours cleaning the place from top to bottom. It was awesome of him to help. It was extremely hot – and our 1912-vintage house had no insulation to speak of – and it was a disastrous mess from the split move. However, Chris showed up early, and we drank some mimosas (his specialty), and we cleaned until we collapsed.

Image

Happy 25th birthday to Chris! I made him some White Chocolate and Cranberry Blondies, which were booooooomb. I used the recipe straight from Crepes of Wrath, and they turned out both pretty/festive (with their cake crumb secret ingredient) and delicious. (Yes. I ate one. My roommates also ate one. I’m sorry, Chris. Now you know.) They were pretty soft, so I hope they arrived in D.C. intact. If not, enjoy the crumbs, and try not to read into them as a metaphor, Chris.

Image

I started by making the cake crumbs. These are basically modified strudel, from what I can tell, with a boatload of rainbow sprinkles. You just mix flour, grapeseed oil, sugar, and flavoring together and bake it until it’s golden.

Image

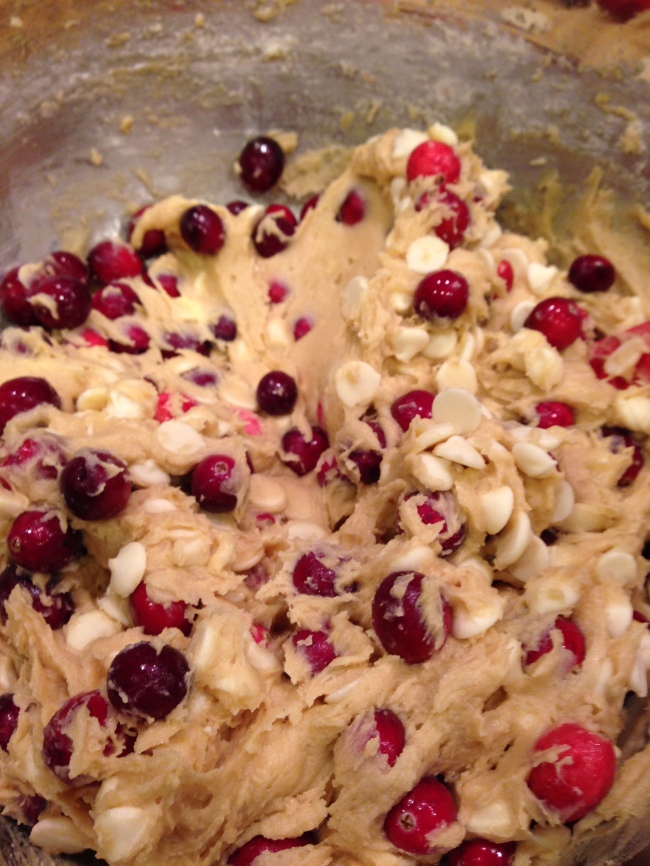
The rest of the batter was straightforward. Wet ingredients, dry ingredients, fold in the cranberries (I used fresh) and white chocolate chips. Finally, mix in the crumbs.

Image

Image

They baked up beautifully! The sprinkles in the “cake crumbs” added a super-adorable smattering of color, which is why I picked these as a birthday gift.

Image

Challenge: BLONDIES!

11 Nov

Initially, I was going to post a cookie challenge. However, with our impending participation in the Great Food Blogger Cookie Swap 2013, we’ll have a cookie post within a month anyway!

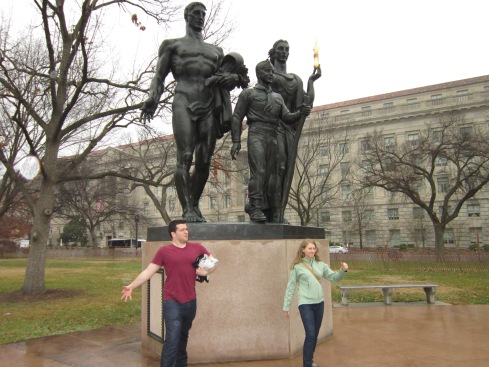
Nora and I have a friend named Chris (see photo from the trip Nora and I took in January to visit him in Washington, D.C.).

2013-01-16 12.44.41

Chris’ birthday is coming up, and I am on the hunt for a shippable baked good for his birthday care package! In my search, I stumbled upon the thought of blondies, and now I can’t get beyond it. Though I did inherit my paternal family’s penchant for choco-mania, I think blondies are a delicious twist on brownies with a lot of creative potential. Here are some recipe ideas to jump us off.

From Crepes of Wrath:

From Smitten Kitchen:

From Martha:

Bonus: photos from Nora and my trip to D.C.:

Nora and THE WHITE HOUSE.

IMG_0702

Nora and Chris being the Boy Scouts of America monument (a tribute to awkward, naked adult men everywhere):

IMG_0708

Halloween Cake Pops: Denver

11 Nov

Image

As I write this post, I realize I did a really, really terrible job of taking photos for this assignment! I was prepping for a halloween party as I made them, so I guess the rest of the decorating/cooking was distracting. Valuable lesson here, and I apologize!

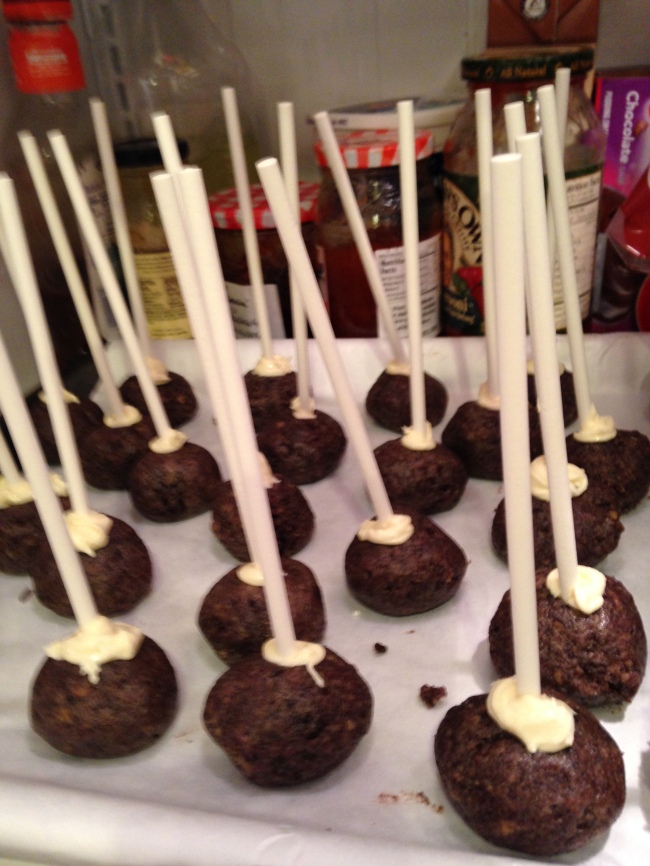
I made my cake pops out of 1/2 chocolate cake and 1/2 pumpkin spice cake. Initially, I had planned to do two separate batches, but I ended up mushing both cakes together…Turns out, you really do need to add the frosting slowly – otherwise, your mix is too goopy! This happened to me as I mixed frosting into the pumpkin cake. Since I couldn’t take frosting out, I had to add in more cake. So, I ended up with one big pot of chocolate and pumpkin cake ball goo.

Image

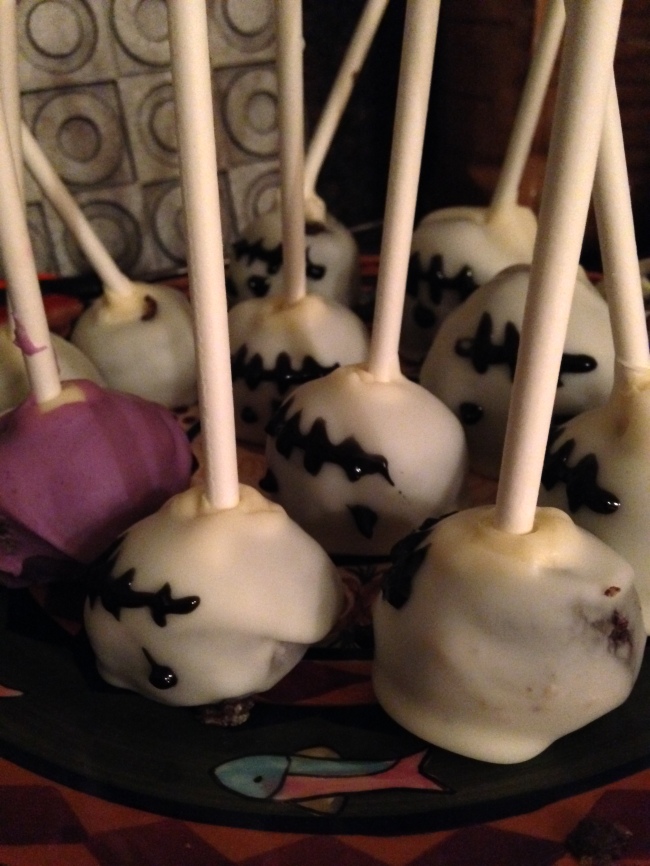
Like Nora mentioned in her post, these took AGES to make. The rolling went by quickly, but the dipping/decorating was a beast. I made purple people eaters a la The Pioneer Woman, and then little ghost faces and skulls. I learned this lesson while making cake pops: man, just spend the money on candy melts!! I bought white chocolate chips (the good Ghirardelli kind!) because they were much cheaper than the packaged candy melt, but the chocolate was WAY too thick to dip. They shredded the first cake pops I tried to dip – even after I thinned the chocolate out using oil. I stopped mid-process to go buy the candy melts after all. Once I did, however, it was pretty smooth sailing!

Image

Overall, my opinion is that they were tasty, but I thought they were too high-fuss. My typical cupcake is prettier and easier to execute well. Still, I’m glad I finally tried making cake pops!

Image


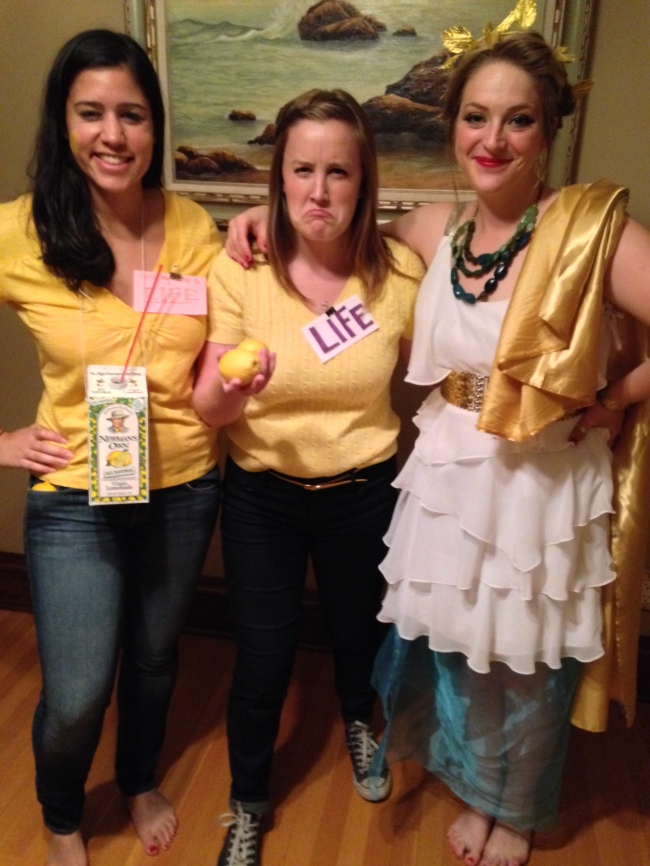
Bonus photo: Here are my current roommates and me at the party! Kelsey and Lillian were the phrase, “When life gives you lemons, you make lemonade!” and I was athena (plastic shield and sword not pictured).

Image

Halloween cake pops: Portland

9 Nov

DSC_0012

Happy belated Halloween!

I had a lot of fun creating these cake pops and they were well received at work. But boy did they take a lot of time. I figure I made about 40, and each one took time to roll, dip and decorate.

The easiest part was making the cake. I decided on pumpkin cake (seemed appropriate) and cream cheese frosting. For decoration, minimalist seemed like a good idea, seeing as presentation has never been my strongest suit in baking.

DSC_0013

It all started with the standard creaming of sugar and butter, though I think the photos of this process always look pretty.

DSC_0019

One problem I had was that I made too much cake in too big a pan. I doubled a cake recipe so it would fit in a 9×13 pan, but that turned out to be way too much cake and it didn’t cook evenly. So the sides and bottom ended up overcooked (brown and kind of dry) and the very top ended up undercooked. But the middle was fine, so I added most of that to the frosting later.

DSC_0020

Cream cheese frosting went well with the spicy pumpkin cake.

DSC_0021

After the frosting was done, I crumbled the good parts of the cake — I ended up having about half my cake left after I was done — and combined it slowly.

DSC_0023

The mixing process took a while, but once the cake and frosting were combined, I ended up with a moldable, vaguely crumbly dough.

DSC_0026

It took a good 20 minutes to roll each ball into shape (and because I’m a perfectionist, they had to be perfectly round). Then they went into the freezer to solidify before dipping.

DSC_0040

The dipping process was fun, if not entirely tedious. But I learned what not to do if I make cake pops again. In lieu of a double boiler (which I do not own), I used the old bowl over the pot trick. Worked out pretty well.

DSC_0032

Because I haven’t made these before, I caved and bought candy melts, but each package didn’t hold that much, so I might try some other coating next time. I discovered how important it is for the cake pops to be really thoroughly chilled when the go into the candy melt, lest they start falling off the stick and breaking. Bakerella’s instructions for dipping were immensely helpful, particularly the note about adding vegetable oil if the candy melt consistency was too viscous for easy dipping.

DSC_0039

I had some trouble with the dipping step because, after a while, the candy melts harden pretty quickly, so making the cake pops look pretty got difficult. Few of mine looked completely smooth, and I often had to use a spatula to help cover the whole cake pop.

DSC_0044

After dipping, I used some sprinkles to add some extra fall color to these treats. The inside was a little more mushy than other cake pops I’ve seen, which I’ll attribute to the consistency of the cake and the amount of frosting I used.

For a first try, I’m happy with how these turned out. Now on to the cookie challenge!